PicoPSU Installed
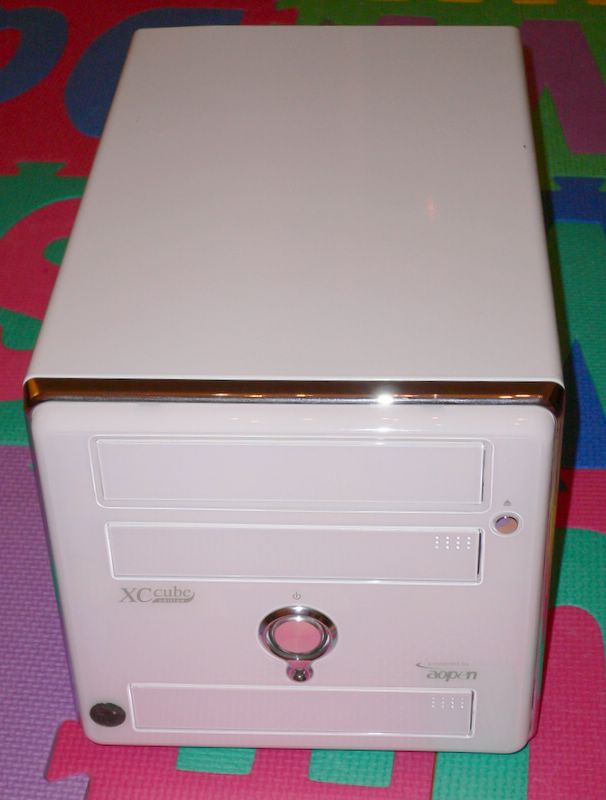 It's been a while, but finally I had the chance to install my PicoPSU into the AOpen EZ18 XC Cube SFF. The EZ18 is an old model, but the case has a nice clean and elegant glossy white finish (also comes in black) which I like very much. AOpen continues to use the same chassis in their latest XC Cube models even after several years. This was my very first SFF and also my first SFF silencing project. I bought this machine nearly two years ago, and also about the same time I joined SPCR where I got a lot of helpful tips. The original thread discussing silencing options can still be found here as well as SPCR's review of a very similar model EZ65. Although after modding this system was quiet enough to be an HTPC, it wasn't quiet enough for me to put on my desk. I always felt the restrictive airflow to be a main culprit and if I could somehow remove/relocate the PSU it could be improved. Well now was the chance to see...
SYSTEM COMPONENTS
The EZ18 comes with an Nforce2 mothboard that not only had decent onboard graphics (for it's time), but also the Soundstorm chip that encodes any PC audio (regular stereo) into digital audio (SPDIF 5.1 signal) in real time. This was perfect as an HTPC as I had the audio connected to my home digital receiver with a 5.1 speaker setup, and allowed DVD audio streams as well as all PC audio (TV signal, MP3s, Multimedia presentations, etc) to be piped through the same digital connection.
The system components include:
- Athlon XP-Mobile 2400+ CPU running at 10x166 1.2v
- CoolerMate Ice Cube CPU Cooler w/ 80mm fan
- 2x512MB RAM
- Samsung 40GB Notebook HDD
- Samsung Combo Optical Drive
- Compro PCI TV Tuner
- 220W AOpen PSU (w/ PFC) modded with Adda 80mm fan
- Zalman 80x15mm intake fan
 Here's a look at the system before putting in the PicoPSU.
I previously modded the original PSU, putting a quieter fan onto the outside.
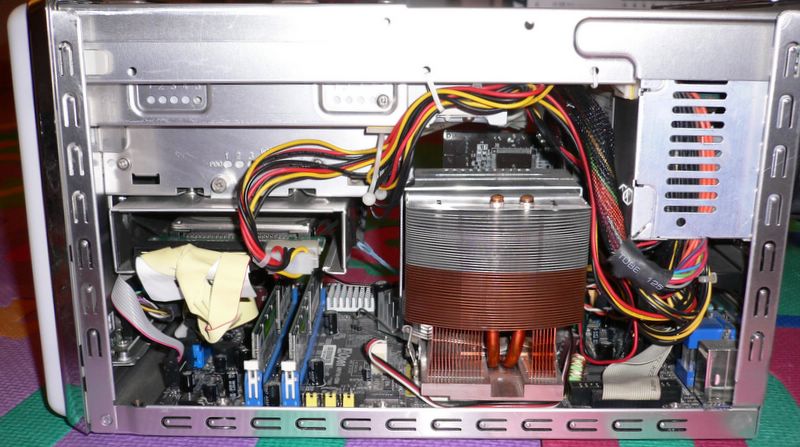
With the design of this chassis, hot air is drawn out through the CPU cooler to the vent on the right side of the case (facing you in this photo). The stock cooler was a flimsly aluminum heatsink, and trying to find a suitable sized replacement heatsink that blew sideways in the right direction was very difficult. I was fortunate to find the CoolerMate Ice Cube that was copper based and even had heat pipes (not so common back then). I actually had to ask someone to help me buy this from Germany. It was a little large (the stock cooler only used a 70mm fan) and I had to cut part of the drive cage to get it to fit. Also the tight spacing of fins are not ideal for exhausting air via this channel, but fortunately the copper and heatpipes do a decent job of keeping the CPU cool.

The already quiet 2.5" notebook HDD is suspended inside the drive cage.
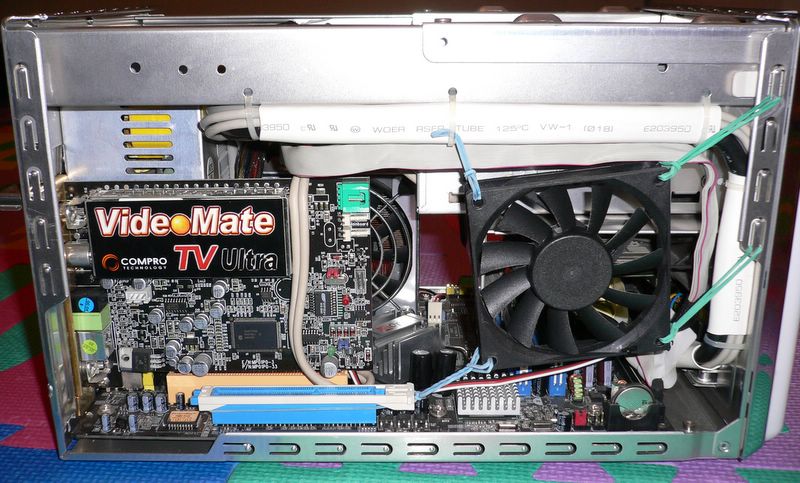
A PCI TV tuner card is installed. The fan on the right is a Zalman 80x15mm fan used to draw cool air into the case from the intake vent on the left side of the chassis.
 In this top view, you can see the stock PSU mounted at the back of the chassis.
PSU SWAP

Here you see the tiny PicoPSU on the right next to the stock PSU. Although the stock PSU is already quite small (even smaller than the Aria's), the Pico still makes it look like a giant.
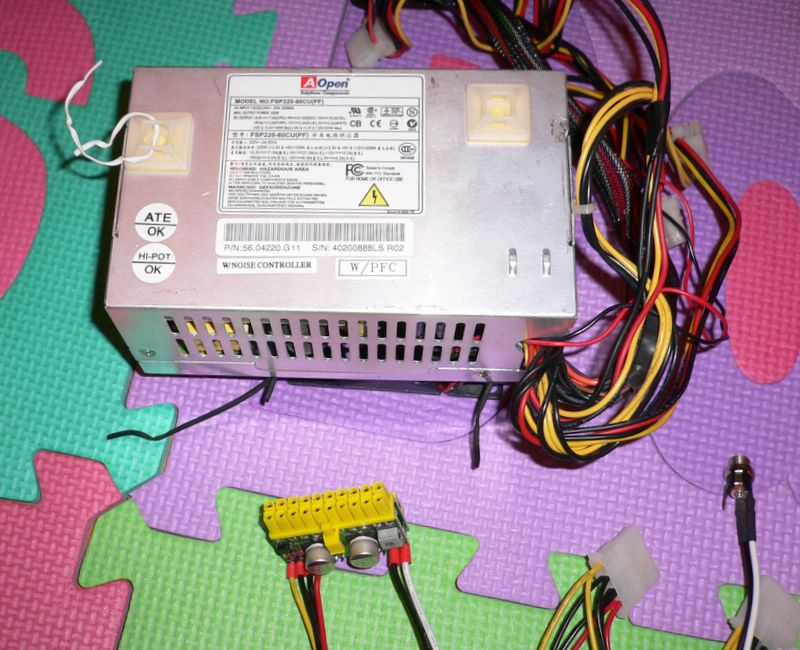
There are only intake grills around the four edges and not the back of the stock PSU; this restricts the airflow plath for exhausting hot air out of the case via the PSU's 80mm fan. Again we hope the Pico will give the case better airflow, less heat to remove, and better power efficiency.

There are three tall capacitors located right next to the motherboards' ATX power connector preventing the PicoPSU to be plugged directly onto the board.
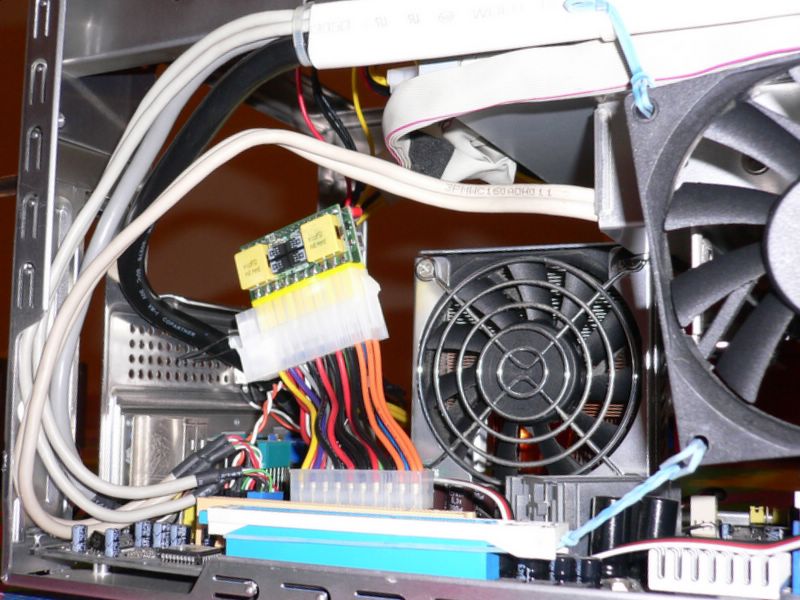
However a short extension cable works fine. The EZ18 board also requires a P4 motherboard connector which is not included on the PicoPSU. I used a molex Y-splitter coupled with a molex-to-P4 adaptor for this. I will probably solder a P4 connector directly to the PicoPSU later to reduce the amount of cables/adaptors.


Here from the back we see the hole where the old PSU used to be. Yep that's the tiny Pico suspended inside. It's actually tied in place to the back of the chassis with a twist-tie. The Pico's 12V input plug unfortunately did not fit onto the PCI bracket that came with it, but we'll figure out a more permanent mounting solution later.

I decided to put back the same 80mm Adda fan from the original PSU.

And just some temporary tape to cover up the gaps so that we get proper airflow from the original intake vents.
POWER AND HEAT
So how did the Pico perform? Well in terms of power efficiency I was amazed. With the stock PSU the AC power draw measured from the power outlet was 70W idle and 85W under Prime95. With the PicoPSU, idle was reduced to 52W and under Prime95 65W. That's a 25% difference or a reduction of 18-20W; a much bigger difference than we saw with the Antec Aria PSU and also the Tagan ATX PSU. I guess the efficiency of the stock AOpen PSU is pretty poor, at least at these low wattages. If we assume 75% efficiency for the Pico, then the stock PSU would be at a horrible 57%.
Note: I later discovered in my measurements I was actually calculating Apparent Power and did not take into consideration Power Factor.
However for temperatures the difference was not as big as what I expected. The three fans in the system are controlled via PWM using Speedfan and settings kept the same.
- CPU 80mm fan = 15% (approx 1700rpm)
- Zalman 80x15mm intake fan = 3% (no rpm reading)
- PSU 80mm fan = 20% (no rpm reading)
Temperatures with the stock PSU under IDLE/PRIME95 and room ambient of 27C.
- CPU = 43 / 48
- SYS = 45 / 48
- HDD = 35 / 34
Temperatures with PicoPSU.
- CPU = 41 / 46
- SYS = 43 / 47
- HDD = 34 / 34
The CPU/SYS temps were lowered by only roughly 2C, and the HDD temp remained pretty much the same. I would have thought with the 20W reduction, plus the additional heat that has been moved out of the case to the external AC/DC adaptor, that the system would run much cooler.
However the airflow setup is probably still optimized for the original configuation with the stock PSU, and not taking advantage of the now excellent exhaust via the rear fan. I can probably replace the CPU cooler and use the CPU vent as an intake instead. With the Pico now there are many new options to rework the airflow in this SFF to perform quietly. I will have to take some more time to experiment and will post back...
Goto AOpen XC Cube hushed
Back to Pico Psu and PW200m DC-to-DC Power Supplies
posted by Mstac @ 3:00 AM
0 comments
![]()
![]()

0 Comments:
Post a Comment
<< Home