AOpen XC Cube hushed
After having more time to tweak the cooling of my AOpen XC Cube with the PicoPSU, I am glad to report back I now have a much quieter SFF than before. I would like to give some background on the original airflow setup of this SFF which will give readers a better understanding of the changes I made.
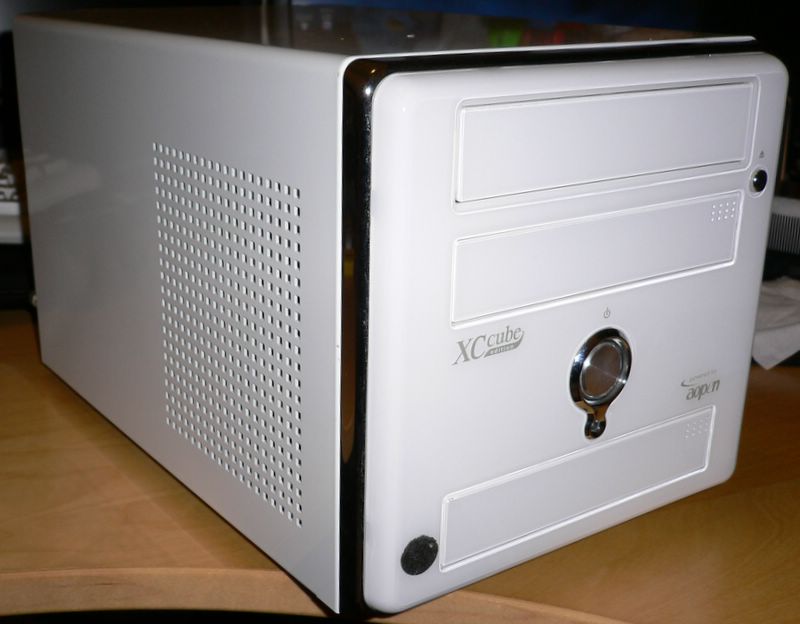 On the left side panel towards the front of the case is a large intake vent. The HDD is located behind this vent and in my original setup I added a Zalman 80x15mm fan to increase the incoming airflow.
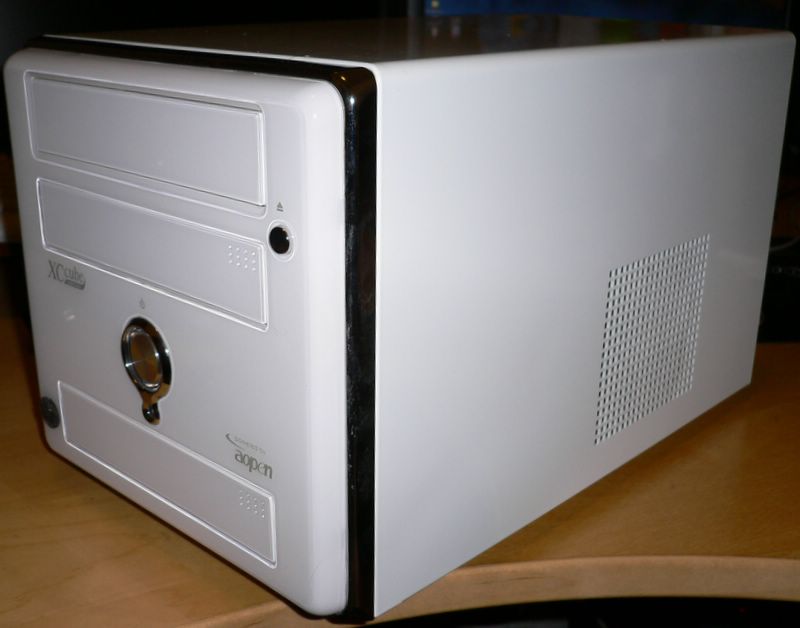 On the right side panel towards the rear of the case is a smaller exhaust vent. The CPU heatsink is located directly behind this vent and on the other side of the heatsink is a fan pushing air out in this direction.
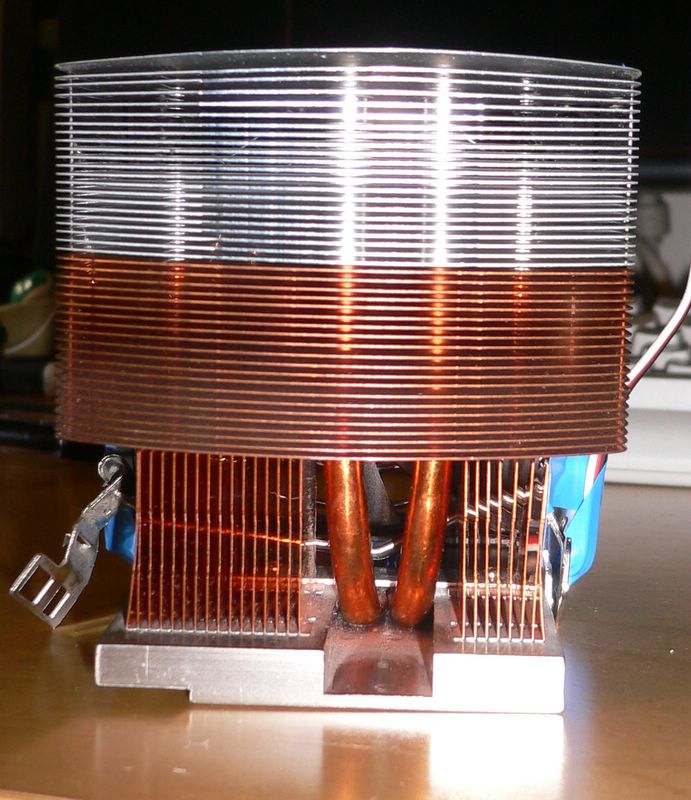 Here is a close-up of the CoolerMate Ice Cube CPU heatsink I used to replace the stock cooler. The dense packing of fins is not ideal for exhausting hot air, however it did a better job than the stock heatsink at keeping the CPU cool.
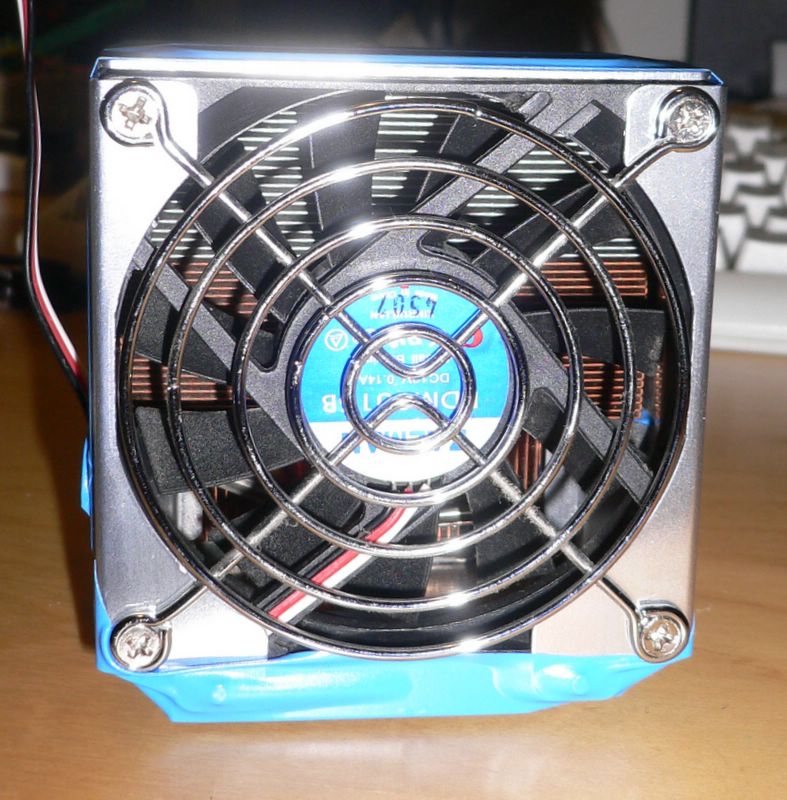 The CPU fan I had installed on this heatsink is also a Zalman 80x15 fan.
 And here is a closeup of the nice Athlon XP Mobile chip. The days of AMD's fragile and exposed cores (now the majority of newer Athlon 64 chips are covered with a stronger heat spreader) which actually allowed these hotter chips to transfer heat directly to the heatsink more effectively. This is actually an XPM 2200+ and not 2400+ which I mistakenly stated in my last post (it's been a long while since I worked inside this system).
The original PSU also pulled air through it's restrictive vents and exhausted air out the back of the case using an 80mm fan. So in summary, we had one large intake vent towards the front left, and two somewhat restricted exhaust vents, one through the CPU cooler at the right back, and the second through the PSU at the rear of the case.
CHANGING THE AIRFLOW
With the removal of the stock PSU and installation of the PicoPSU, a large opening in the rear panel was freed up for exhaust. Reusing the same 80mm fan, it now had a direct airflow path and the volume of air it could exhaust quietly increased. Therefore my thinking was the CPU vent could now be used instead as an intake instead which should help keep the CPU run cooler.
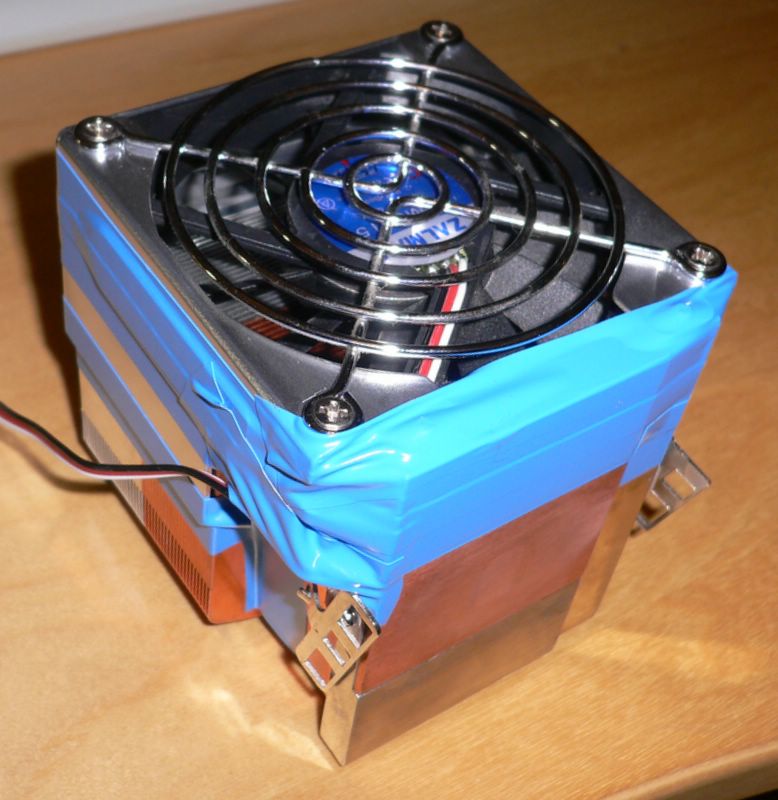 As the CPU fan was not located directly next to the vent, but had to draw air through the heatsink, I took some electricians tape to seal up the gaps around the fan mounting frame and the heatsink in order to insure most of the air would be sucked in from the vent instead of the sides of the cooler.
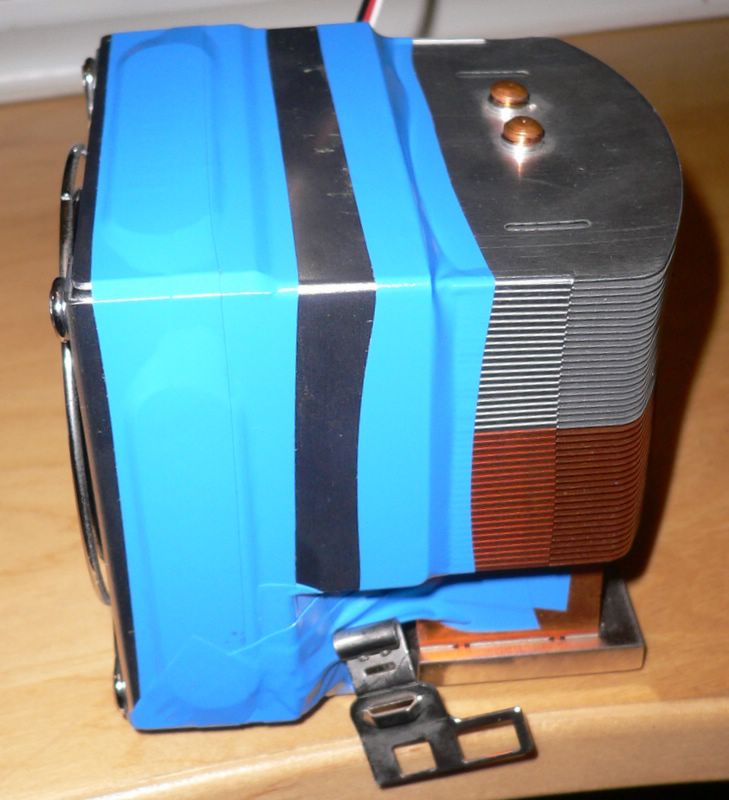 The intention is for the fan at the left of this photo to pull in air through the heatsink (from the right side of the photo where the vent would be located) allowing it to better cool the CPU. The hot air would then be exhausted by the rear case fan.
Oddly there seemed to be no temperature difference compared with the before when the CPU vent was used as an exhaust. However fiddling with the fan settings I found that completely turning off the intake fan at the left side of the case actually improved temperatures. It occured to me that the using both fans as intake was actually causing the airflow to work against each other. Even with only two fans, I was even able to run the rear fan at a slower speeds while keeping the system equally well cooled. Needless to say this allowed the system to be quieter than before.
 I decided to add a duct around the CPU cooler to allow it to make full use of the intake vent. I fabricated this with 2mm thick paper board. Although flammable material is probably not the best choice for putting inside a PC, I don't expect the temperatures in this system to get high enough where it will pose a danger... but we'll see. The paper board is actually very easy to work with and holds it's shape nicely. A ruler and exacto knife allows it to be easily cut to the exact size, and a light etching with the knife along the seams allows it be bent. The end result actually looks very nice for something completed in such a short time.
 I decided to use the same material to cover up the opening in the back panel. Cutting a circular whole for the fan was a little more difficult, here you see a misshapen hexagon. But from the outside it looks fine and it is rigid enough to serve it's purpose.
The fan is still mounted on the exterior of the case, but now with the extra room inside the case I could always move it back inside. In anycase to keep for consistent testing I'll leave it on the outside for now. The vent didn't do wonders, but did the allow the CPU to run slightly cooler by 1C.
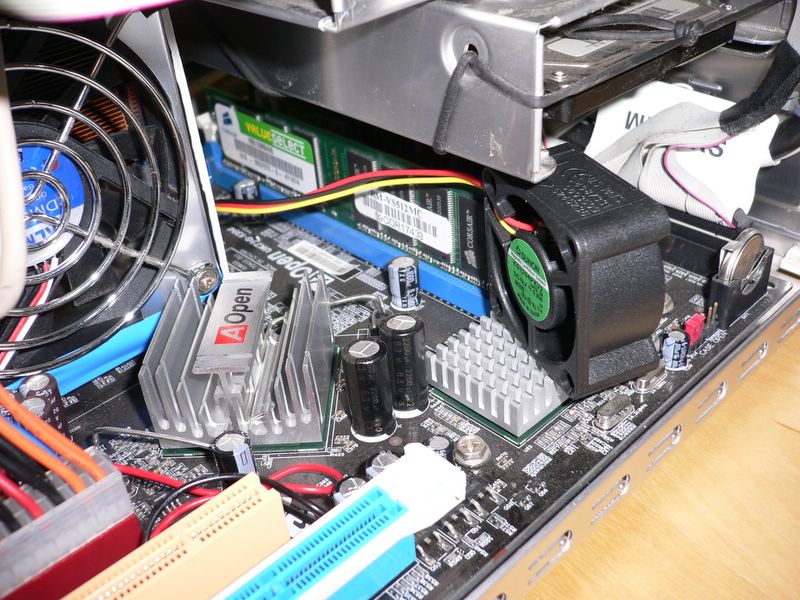 I decided to add a small 40mm Sunon Mag-lev fan to see if it would help. Normally small fans tend to be screamers and do not move a lot of air, however when volted down this Sunon is very quiet and moves just enough air to help cool down hot components like a NB heatsink.
Unfortunately the short wire of this fan meant I had to plug it into the CPU fan header and move the CPU fan to the chassis fan header. On this motherboard these fan headers are run by different chips so their PWM settings are different (ie 15% CPU header does not equal 15% CHASSIS header). So I had to readjust fan settings for the CPU fan as well and cannot compare exact same settings. However this fan did help with system cooling and running at 9% setting brought down system temperatures by 1-2C compared with it being turned off.
FINISHING TOUCHES
 For the power input jack of the PicoPSU, I decided to mount it where the Coaxial SPDIF out connector was located. The circular coax connector was slightly larger, but let the power jack fit securely once the exterior nut is screwed on. You can see it to the right of the parellel port (just below the fan) in the photo. I do need SPDIF audio for my HTPC, but I figured I could always use the optical SPDIF connector instead.
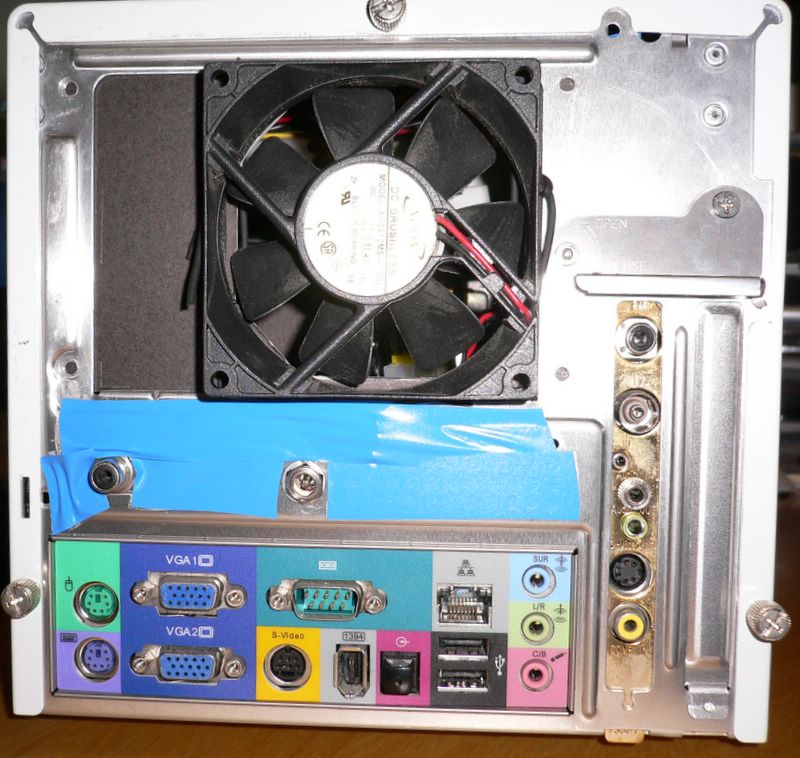 Then I remembered oddly the optical connector at the back of the AOpen is in fact audio in, the audio out optical jack is located at the front of the case, too ugly to have a wire dangling from there. Fortunately I have no use for the parellel port so off that came and the coax connector happily relocated there. In addition I sealed up the tiny vent holes with blue electrical tape. Sealing these holes actually made a significant improvement to the overall cooling, both CPU and system temperatures dropped by 1C and HDD temps dropped by 3C. I suspect these holes served as fresh air intake for the original PSU, but with the modified air flow these holes become unnecessary as there are no components it will cool on the way to the exhaust fan. In fact they reduce the amount of air being drawn in through the other two intake side vents. The final settings and temperatures:
Fan settings using Speedfan
LOW FAN - CPU 3% - Chipset (40mm) 5% - Exhaust (80mm) 9%
HIGH FAN - CPU 5% - Chipset (40mm) 9% - Exhaust (80mm) 15%
Temperatures based on an ambient of 28C
IDLE - LOW - CPU 42 - SYS 44 - HDD 34
PRIME95 - LOW - CPU 50 - SYS 50 - HDD 35
PRIME95 - HIGH - CPU 45 - SYS 45 - HDD 34
Noise-wise the system is quiet and it produces a soft smooth low frequency whoosh/hum that is quite pleasant to my ears. It's not inaudible like the Pundit, and even louder than the Mac Mini, but the noise level is still very low and noticably quieter than before. Installed back on the compenents rack above my TV screen, in the very quiet ambient in the wee hours of the night, it becomes inaudible beyond 6 feet. During the day or when my TV screen is on, the system cannot be heard even within two feet.
Probably a more open CPU heatsink that allows for better airflow as well as running a slower 92mm fan for exhaust will allow the system to cool even better and become even more quiet, however for it's purpose as an HTPC it is more than quiet enough already. One problem though that I did find after I had it all setup again as my HTPC is that the system has trouble powering up from suspend mode. I experienced this once while testing the system on my workbench, but subsequent trials proved no problems. I suspect that the PicoPSU is the cause here as I did not have this problem before. Although noise and temperature wise it is perfectly acceptable if I leave it on permanently, I am not happy with the idle power draw of around 50W as it would be like leaving a lightbulb on all the time that you weren't using (unfortunately Athlon XPs have poor power management at idle). I will have to see what can be done about this.
Back to PicoPSU Installed
posted by Mstac @ 12:43 AM
0 comments
![]()
![]()

0 Comments:
Post a Comment
<< Home